

Create a space
- Open the space menu and create a new space.
- Enter a space name. A description is optional.
- Choose Public or Private visibility.
- Invite people if you want. This step is optional.
- Click Create space.
Find your space ID
You need your space ID to send traces and to work with datasets and experiments through the SDKs and APIs. It is available in three places, each with a copy button, and it also appears in the URL of every page in the space, after/spaces/.
Space Config has a Copy Space ID button in the top right of Settings → Space Settings → Space Config.
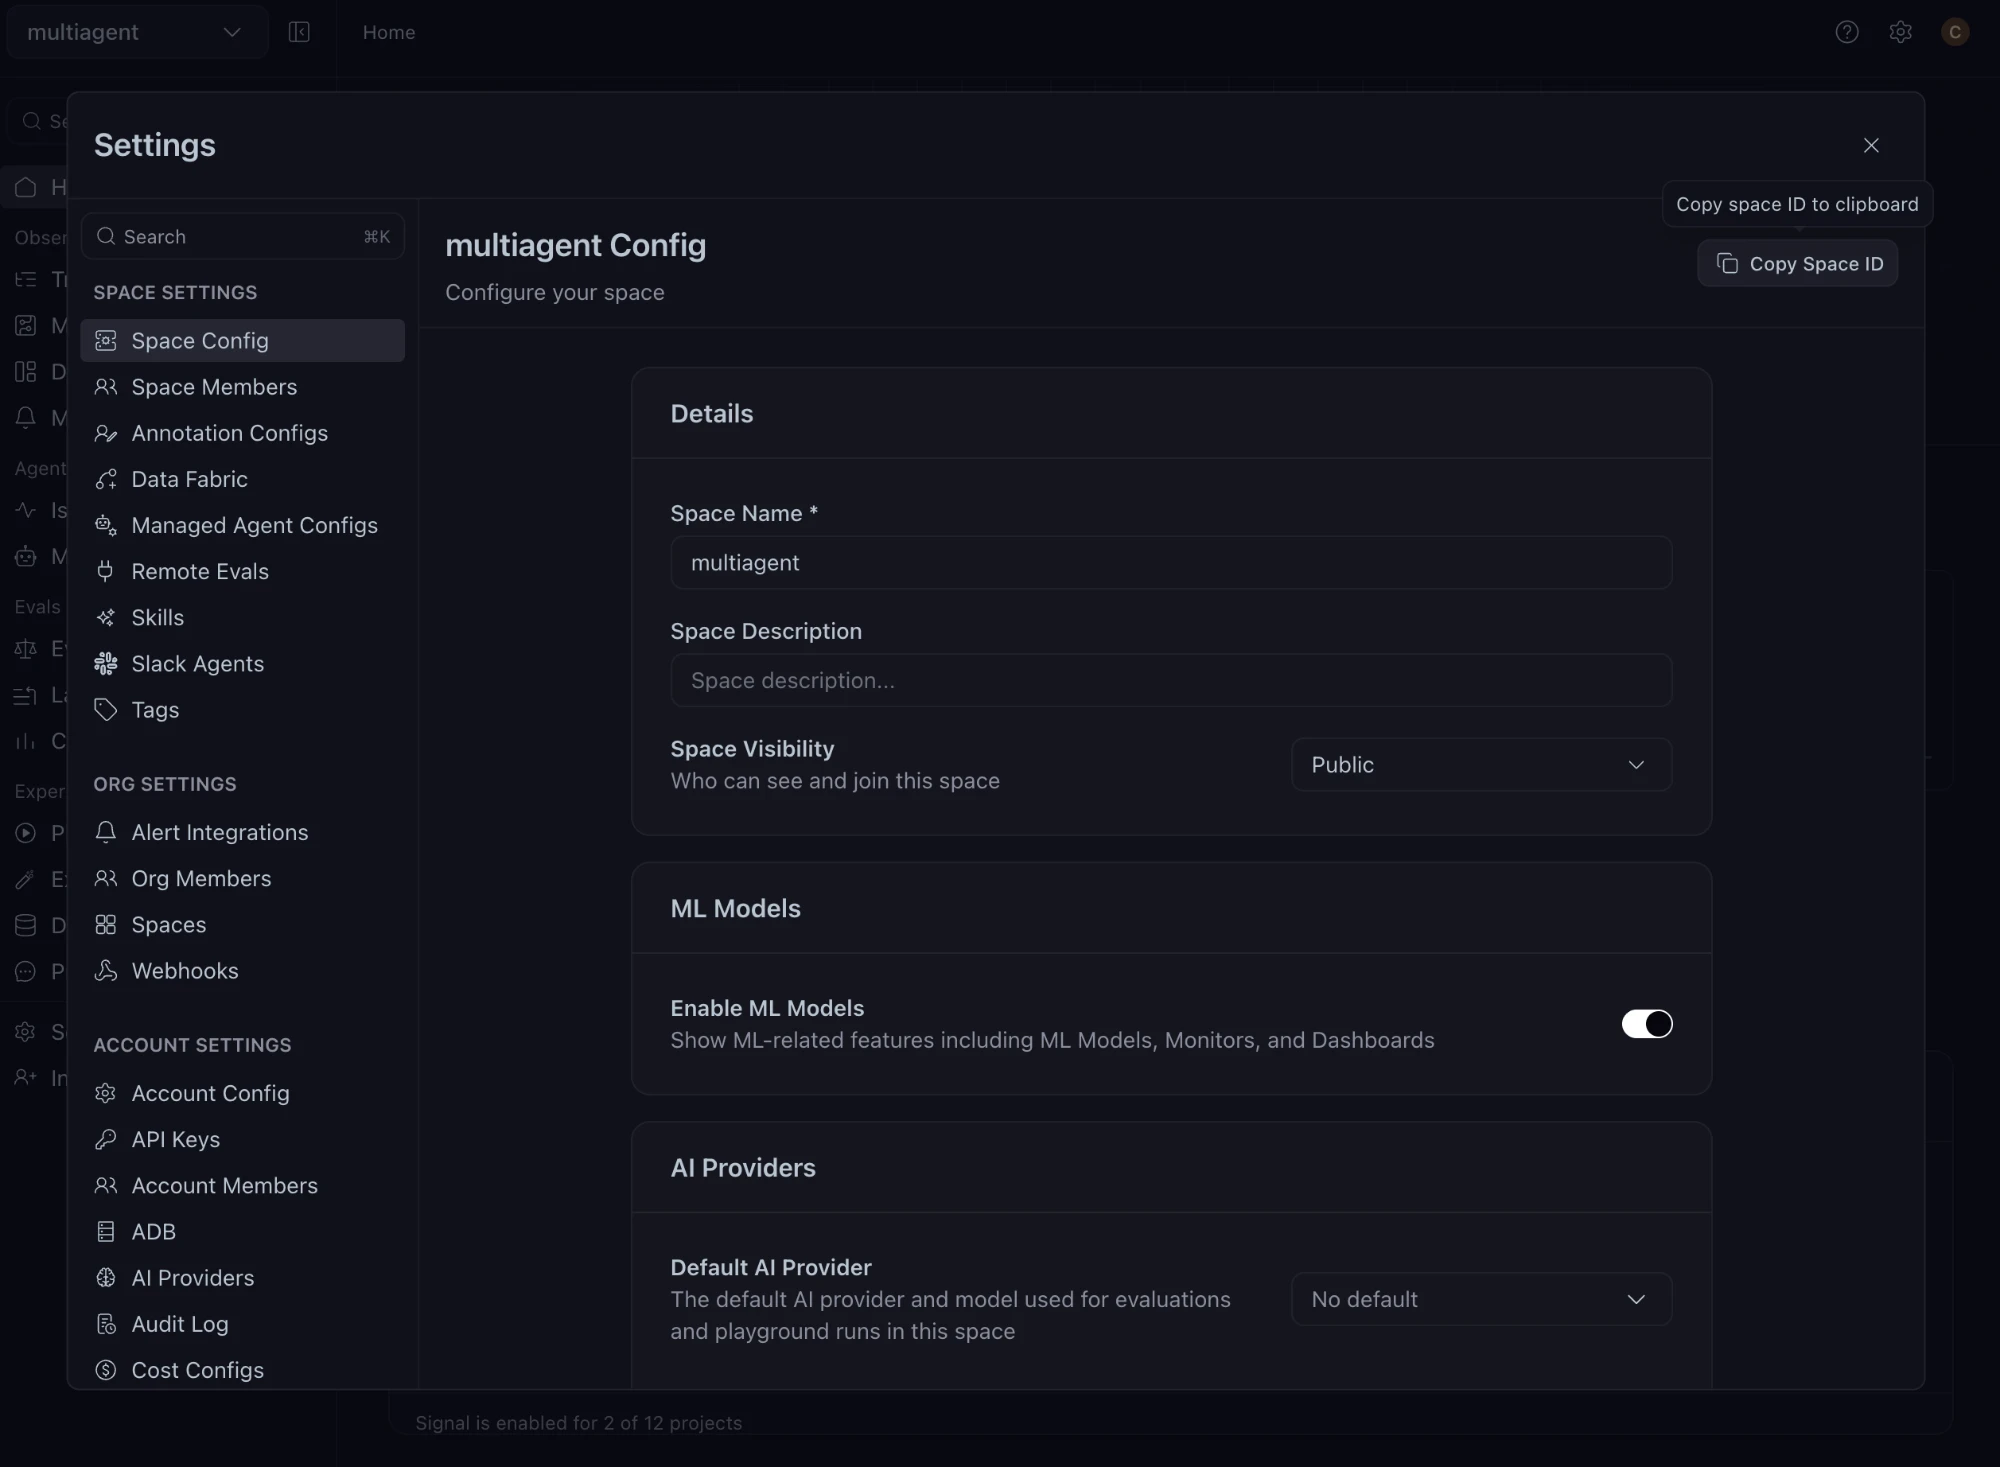
Settings → Space Settings → Space Config, with the Copy Space ID button.
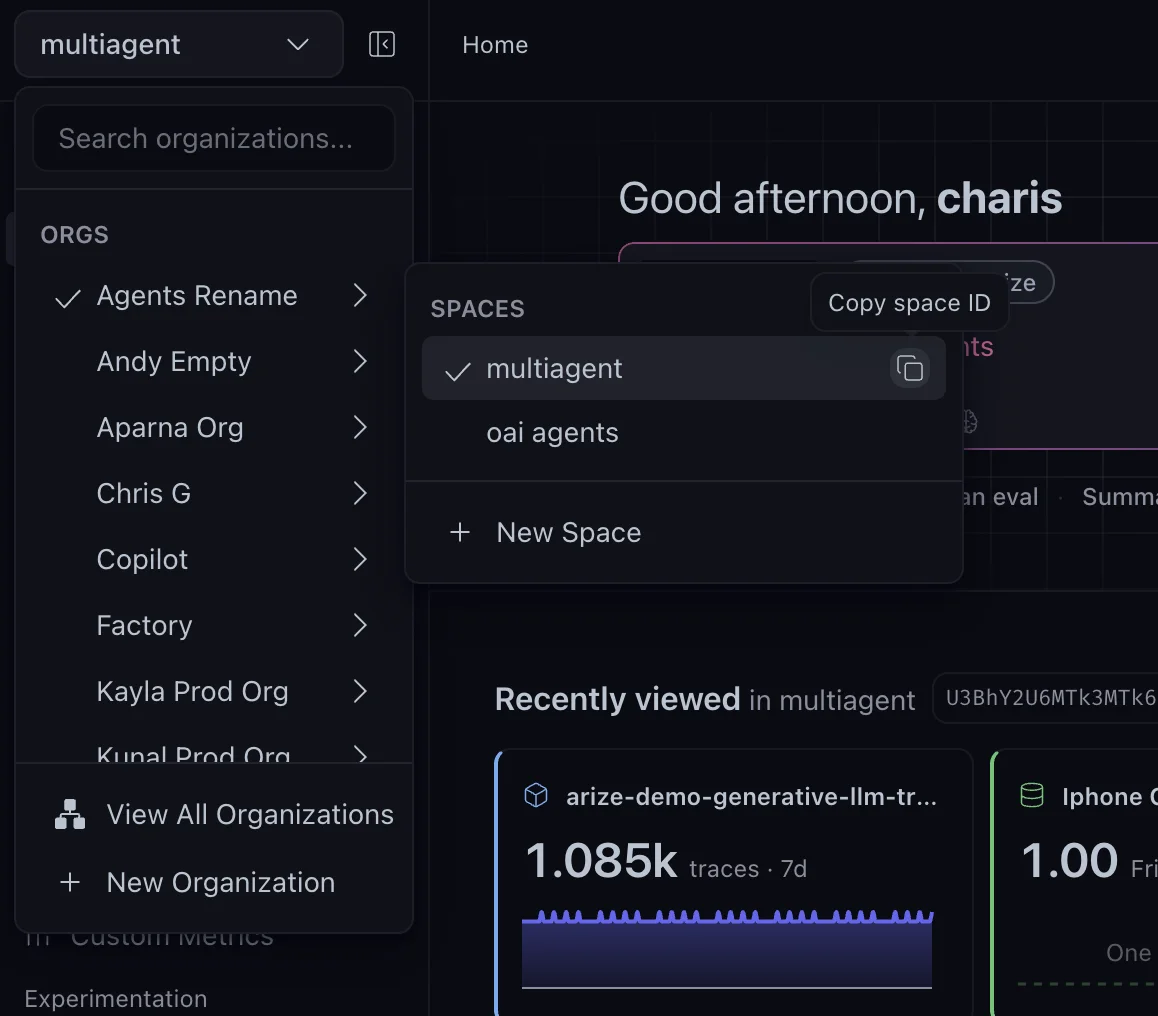
The space switcher, with a copy icon next to the current space.
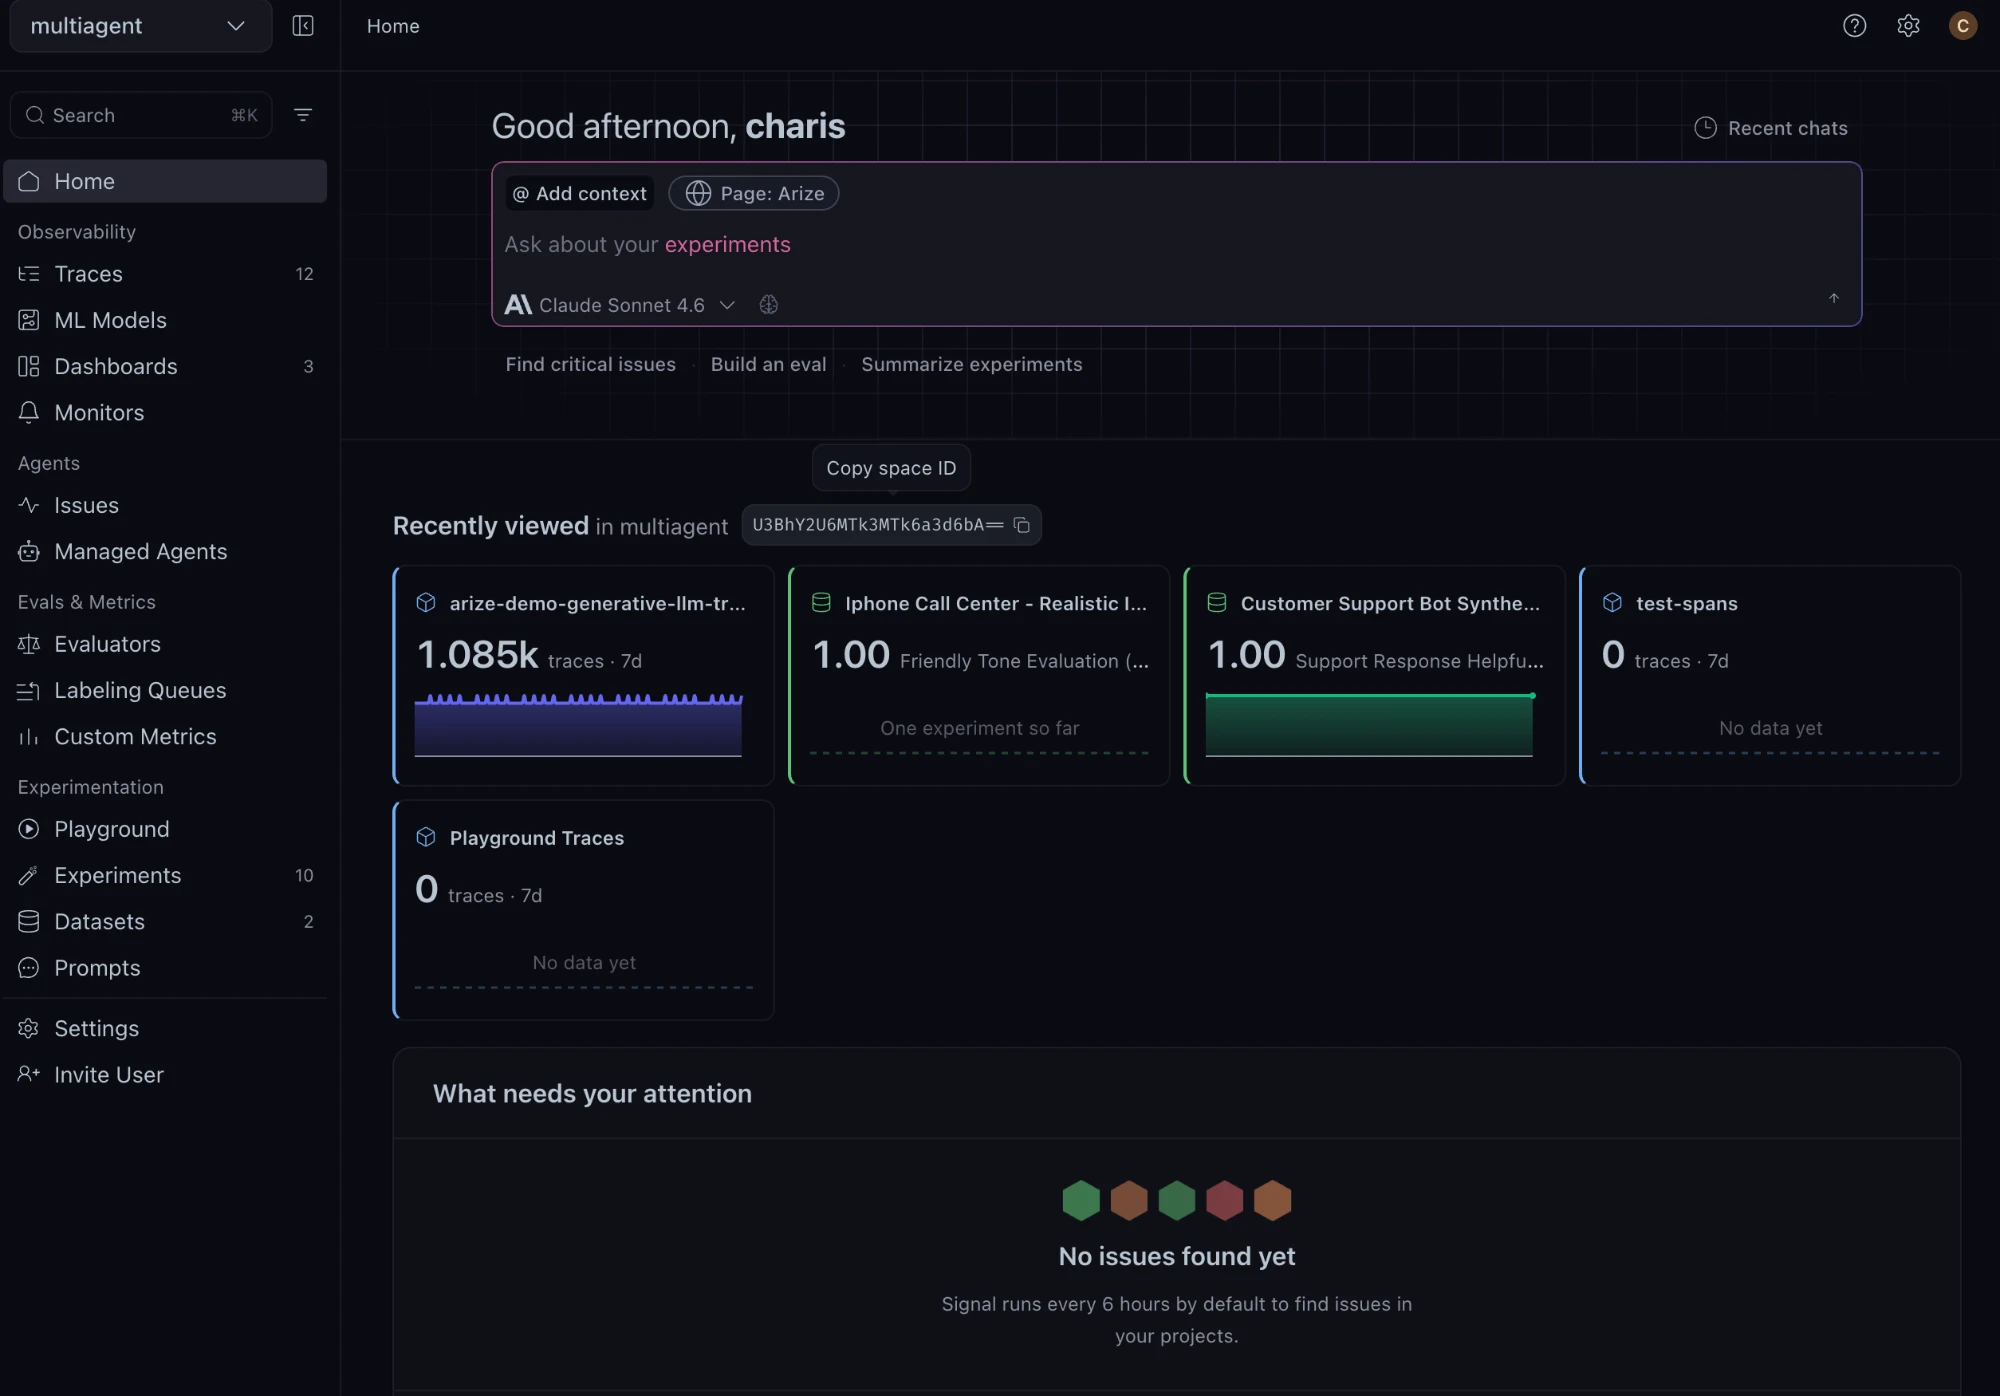
Home, with the space ID next to Recently viewed.
Manage a space
Space settings are under Settings → Space Settings.- Space Config holds the name, description, and visibility. In a Public space, every member of the organization has access, at their organization role unless they are given a space role. A Private space is open only to members who are given a space role.
- Space Members is where members are added, removed, and given roles. See Invite & Manage Members.
- Tags is where the space’s tags are created and managed. See Tags.
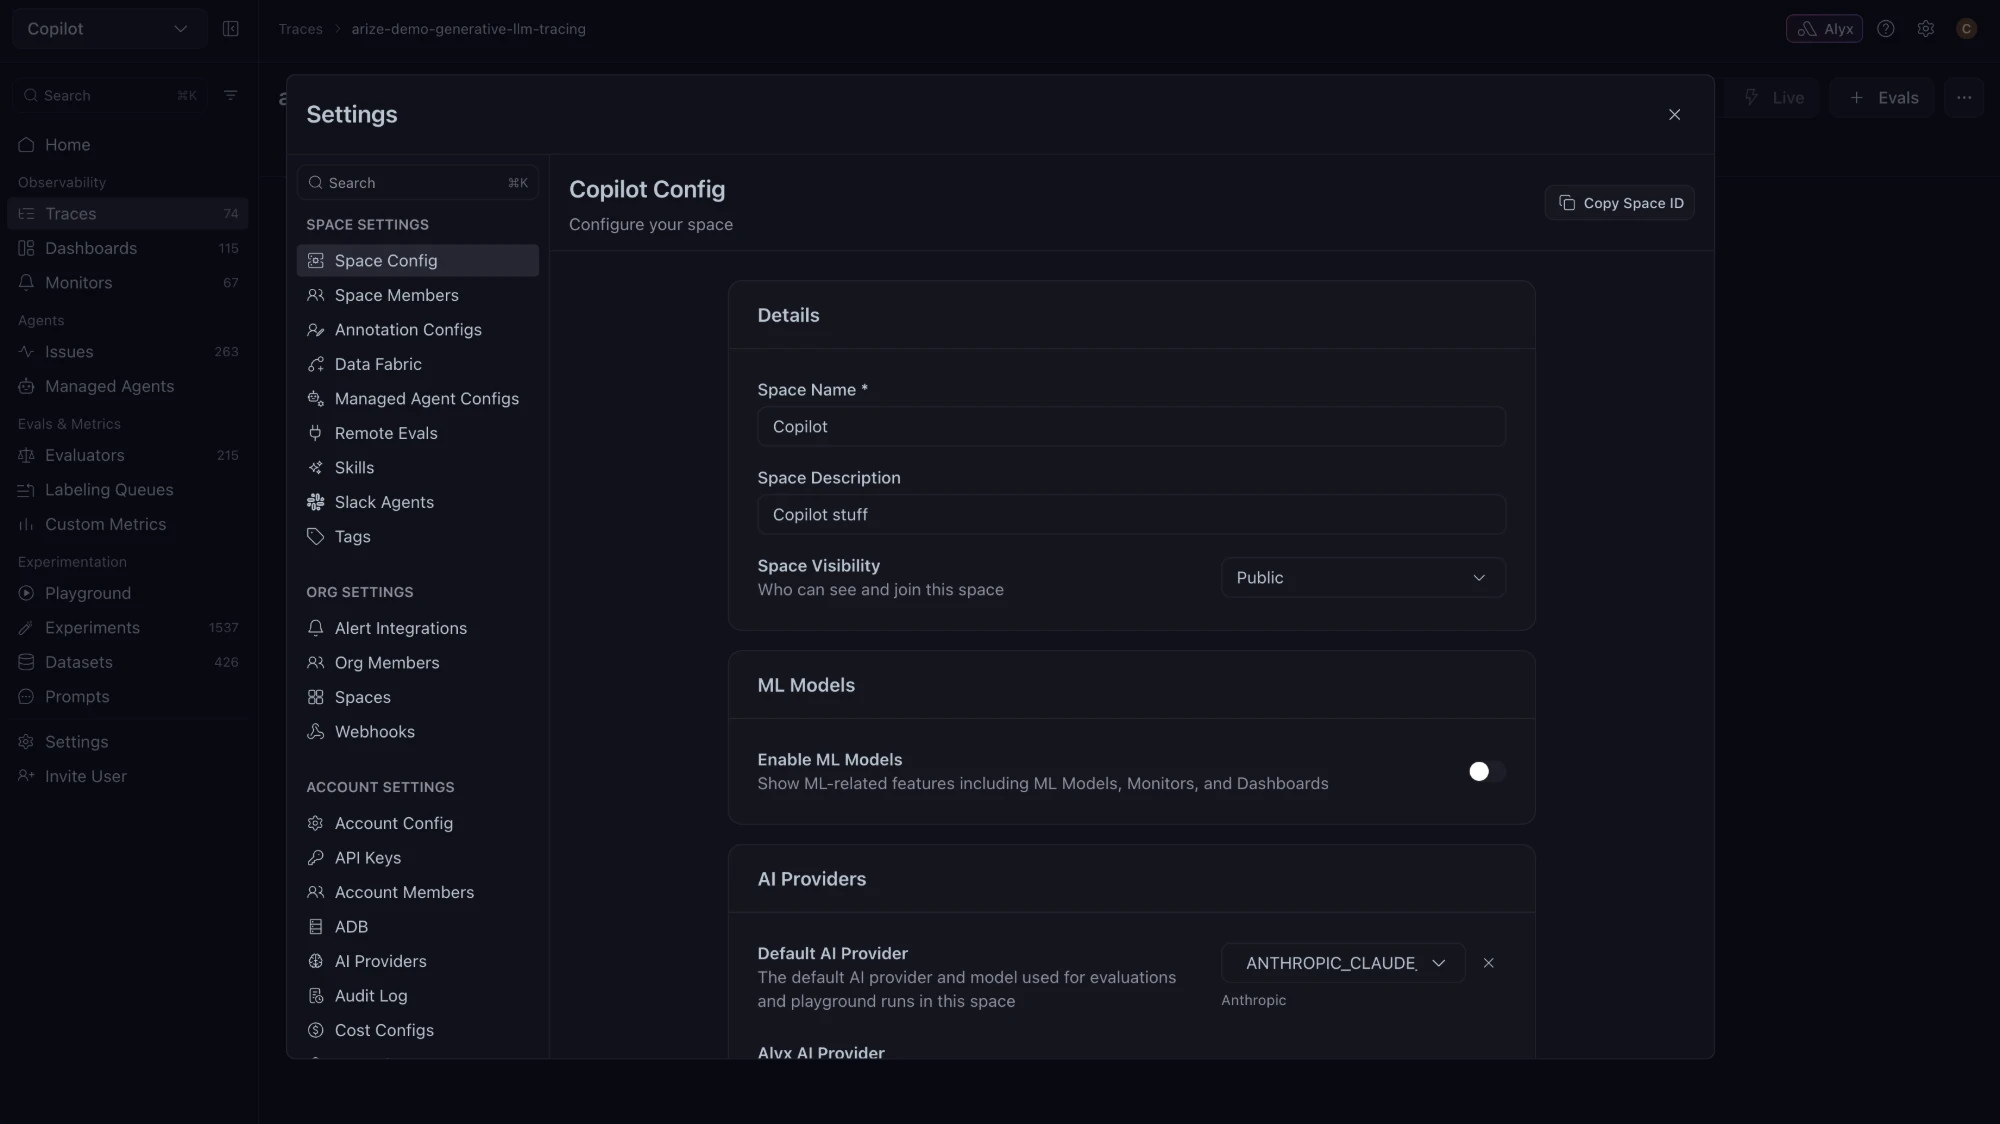
Settings → Space Settings → Space Config, with the space name, description, and visibility.
Manage an organization
Organization settings are under Settings → Org Settings.- Org Members: See Invite & Manage Members.
- Spaces: The organization’s spaces are created and managed here.
- Rate Limiting: See Rate Limiting.
- Alert Integrations: Slack, PagerDuty, OpsGenie, and Teams channels for monitor alerts. See Production monitoring.
- Webhooks: See Webhooks.